Working on this project so far has been absolutely fulfilling and it feels great to work with such an awesome team. This blog post will give an overview of the state of the app as of the first evaluation of the GSoC 2021.
Introduction
The goal in mind while starting the project was to create a single mobile application that would work on both iOS and Android devices so as to extend the reach of the enviroCar app to the iOS users. Although this project looked like a mammoth task, with proper management and teamwork, we’ve come quite far from the start already.
The User Interface
In this first phase of GSoC 2021, I took up the task of creating the app’s UI along with handling errors and exceptions, unit testing, adding a local SQLite database and writing HTTP calls for collecting tracks, user statistics, sensors etc. I started off with creating the four primary screens of the bottom navigation bar according to the designs created using Adobe XD. More information is available in the introductory blog post. The result is as follows.

After setting up these screens, I worked on building the screen to create cars, log book screen, report issue screen and help screen. I made sure that every widget created was reusable as well as responsive and that it did not break in any screen size. The result is as follows.


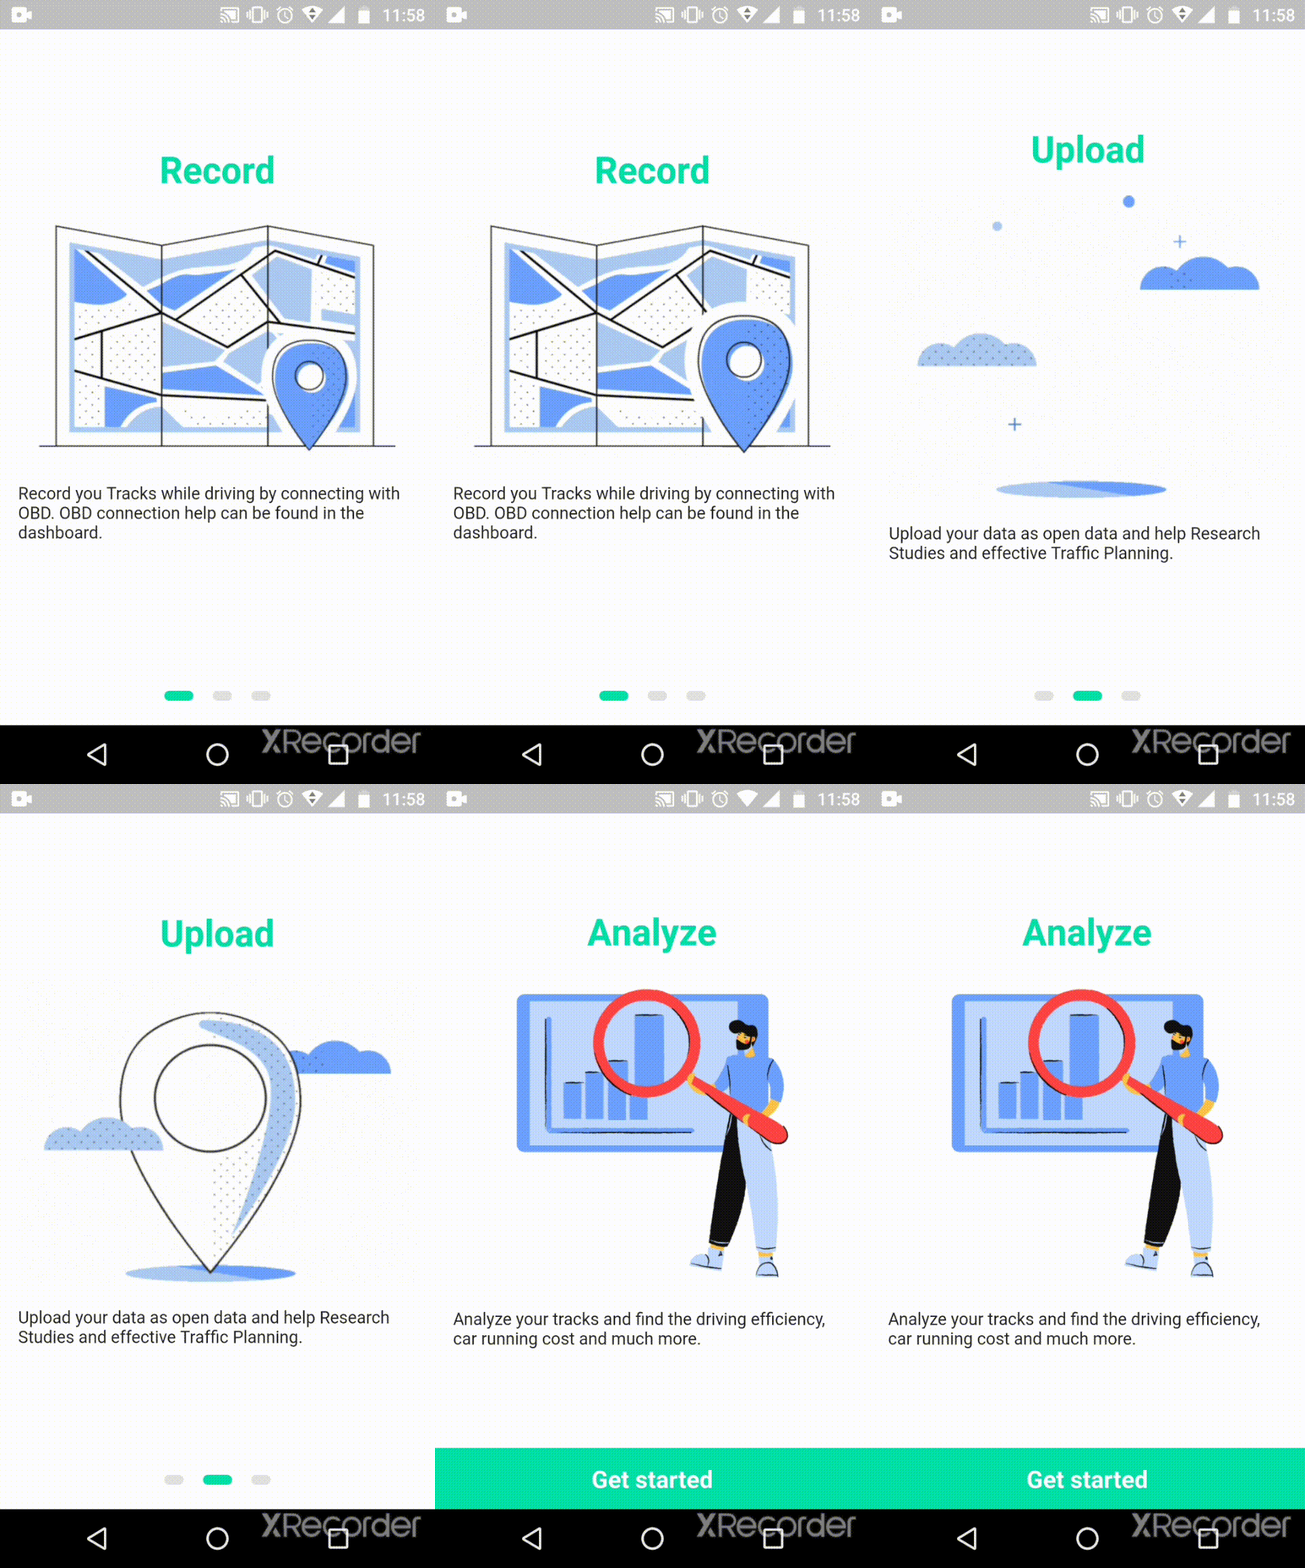
Along with them, I also created onboarding screens for the app that show up the very first time the app is installed and opened to introduce the user with the features of enviroCar.

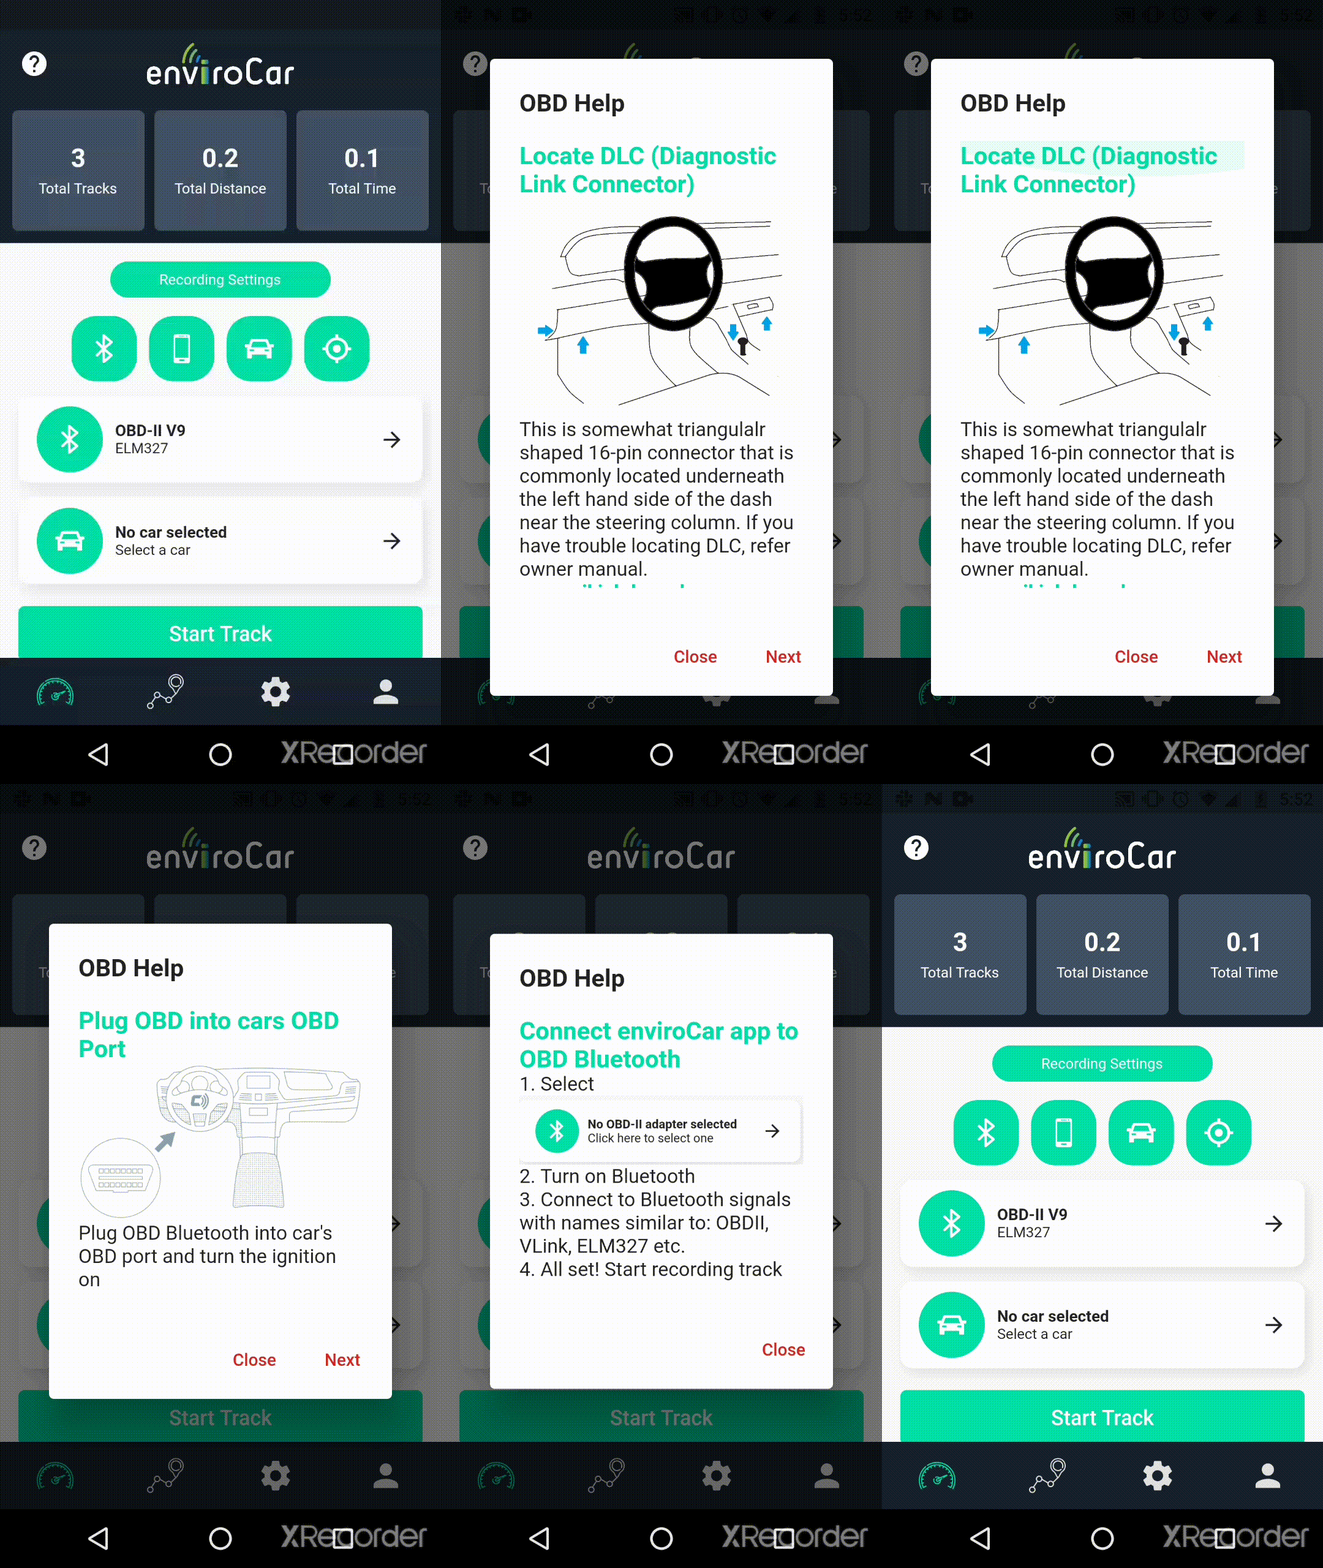
Once done with the major UI part of the app, I looked at previous GSoC blog posts and came across a feature that is yet to be added in the Android app but is super useful. I checked with my mentors and decided to add the OBD help feature on the app bar. It basically shows how to connect the OBD to a car and how to use the app to read the data collected. The help dialogs can be found below.

I also added a few more features, like closing the enviroCar app programmatically. This may pose an issue on the iOS platform as according to Apple’s guidelines, terminating the app from within the app is not acceptable. I also created the ‘Rate Us’ feature, which currently navigates to the Android app on Play Store, and fixed some minor bugs in the authentication logic.
Core Functionalities
I completed the app’s UI and made sure it was responsive by testing it on various different screen sizes. I then worked on some core behind-the-scenes functionalities that include:
- Local Database
- Logging
- Linting
- Continuous Integration
- Unit Testing
- Error and Exception Handling
Local Database
We needed to enable access to data like tracks, sensors, fueling logs, etc. even when the user is offline, so a local database was necessary. Since the Android app uses SQLite for the offline data store, we decided to go with the same. Flutter has an sqflite package for the SQLite database. The ‘f’ stands for Flutter itself. This database offers the best security for storing data locally compared to any other database. It is immune to all kinds of SQL attacks and hence became the first choice for the offline data store. After introducing the package to the app, I created tables to store the sensors and the fueling logs locally and wrote methods to access them.
Logging
I added logging to the app using the logger package provided by the Flutter team. It helps in debugging the app during the development phase. We are currently logging function calls and screen navigations to help pinpoint the occurrence of any kind of bugs or errors.
Linting
Linting is basically adding a set of rules to the project so that all the developers can maintain a consistency in the style of the code. The main reason for adding linting to this project was to make sure that the widgets that did not have any dynamic element in them were made constant so that they do not rebuild again and again during state changes in the app. This will massively improve the performance of the whole app. For this we used the Lint package.
Continuous Integration
Using Github Actions, I created a workflow for the app repository. It runs a set of jobs on every Pull Request that is sent to merge with the master branch. The jobs basically set up the Java environment and build both the Android and iOS apps to make sure that no bad code is being pushed to the master. It also uploads the apk and runner file after building the app on Github as artifacts. The apk file can be directly downloaded and run on any Android device to test the app.
Unit Testing and Error Handling
Lastly, I added some unit tests for the http calls by using the mockito package to mock the response from the server. I also provisioned a modular method for handling all kinds of exceptions and errors that could occur while making API calls and wrote widgets to show the user.
Closing Remarks
In the last meeting before the first evaluation, we decided to use a Hive database instead of SQLite to store data locally and hence the current SQLite code will most probably be replaced by Hive code.
All of the app’s UI is responsive and fits perfectly in a wide range of screen sizes, all the logic is modular and neatly separated in different files for better understanding. There are comments wherever it was felt necessary and I will include separate README.md files to explain the flow better to the community and future contributors.
Leave a Reply